Video Clips
Video clips let you play pre-recorded content as fullscreen overlays during your demo — perfect for showing build processes, deployments, or any sequence you don’t want to do live.
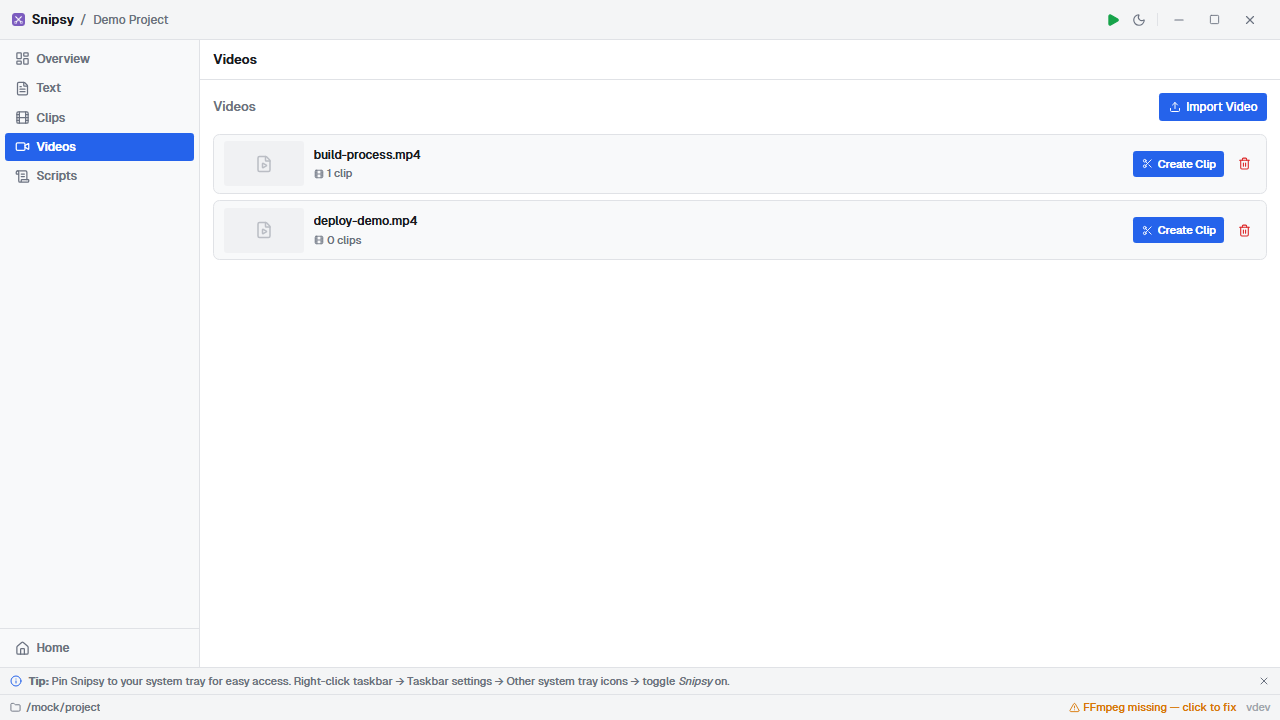
Importing Videos
Section titled “Importing Videos”Navigate to the Videos view in the sidebar. Click + to import a video file (.mp4, .webm, .mov). The file is copied into your project’s videos/ directory.
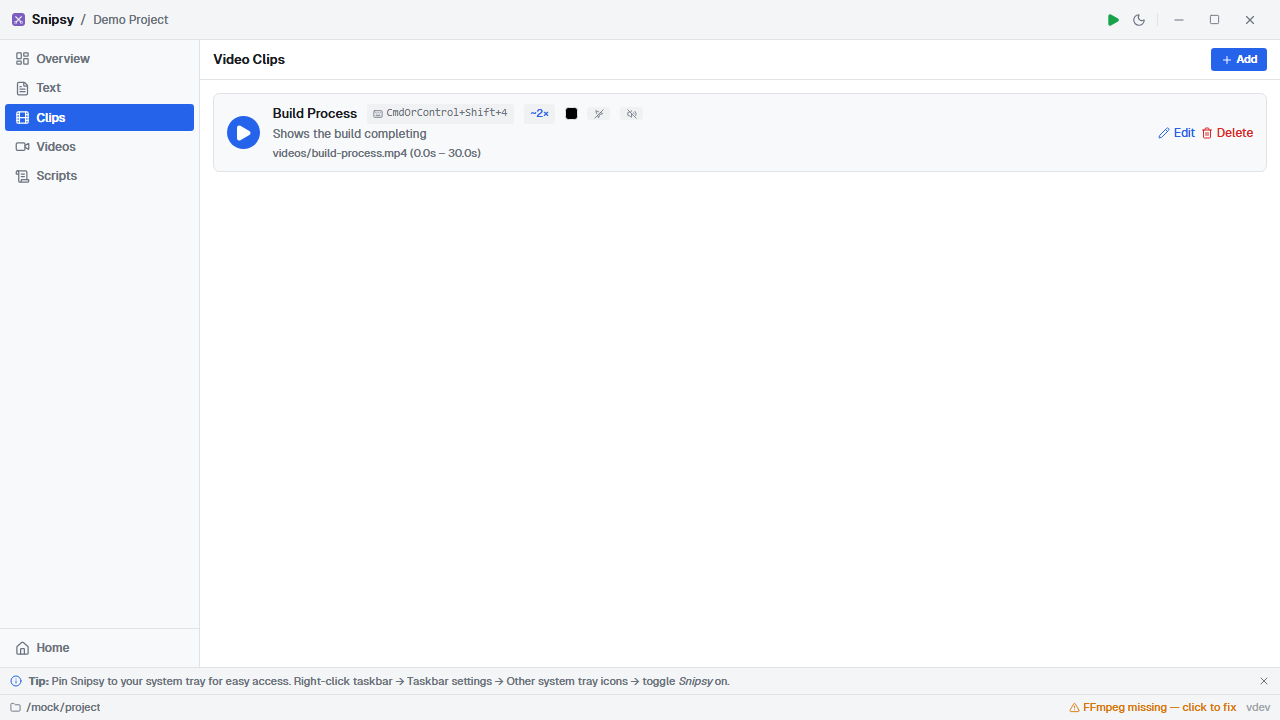
Creating Video Clips
Section titled “Creating Video Clips”From the Clips view, click + to create a new video snippet. The clip editor lets you:
- Select a source video from your imported library
- Set start and end times using the visual timeline
- Assign a hotkey for triggering playback
- Configure playback settings (speed, mute, cursor, etc.)
Clip Editor Timeline
Section titled “Clip Editor Timeline”The clip editor displays a visual timeline with a draggable playhead marked by an arrow indicator. Click and drag the playhead to scrub through the video and set precise start and end times. Use the frame-step buttons to nudge the position forward or backward for fine adjustments.
Use Preview to rehearse the trimmed range without leaving the editor. If your clip has pause stops, preview will pause at those moments and show any spotlight highlights you configured. While previewing, use Previous stop / Next stop or the Left / Right arrow keys to jump between the clip start, pause stops, and clip end.
The editor stays focused on your clip — editing or creating a clip won’t navigate you away from the current view. Press Ctrl+S (Cmd+S on macOS) to save in place and watch the save status update.
Pause Stops and Spotlights
Section titled “Pause Stops and Spotlights”Pause stops let a clip hold at important moments so you can narrate before continuing. Move the playhead to the frame you want, choose Add pause at playhead, then optionally add a label.
For visual emphasis, add a spotlight to a pause stop. Draw one or more highlighted regions over the paused frame; during preview and playback, Snipsy dims/blurs the surrounding area so the audience knows exactly where to look.
Clip Settings
Section titled “Clip Settings”| Setting | Description | Default |
|---|---|---|
| Speed | Playback rate (0.25× to 4×) | 1× |
| Muted | Suppress audio during playback | Yes |
| Hide Cursor | Hide the mouse cursor during playback | Yes |
| Click to Play | Show first frame, wait for click to start | No |
| End Behavior | close (dismiss) or freeze (hold last frame) | Close |
| Background Color | Letterbox color for aspect ratio mismatch | Black |
| Target Monitor | Which display to play on | Primary |
Audio Control
Section titled “Audio Control”By default, video clips are muted since live demo presentations typically have their own narration. Toggle the mute setting off if your clip has important audio (e.g., a product demo with voiceover).
The mute status is shown with a volume icon in the clips list and hotkey overview.